Thinking of replacing your showerhead but unsure how to do it? You’ve come to the right place. People replace their showerheads for a few reasons including age, style, and efficiency. Older showerheads can rust and leak water. If you have hard water, mineral buildup can cause clog the head. Or maybe you want a more efficient showerhead to reduce your water bill.
Whatever the reason, you need to change your showerhead now and then. It’s not very complicated and shouldn’t take more than a few minutes. But it’s easy for things to go wrong, especially if you don’t have the right tools on hand. Whether your showerhead is a fixed, handheld or combination model, keep reading to find out how you can replace it.
The Tools You Need
Before you start taking things apart, make sure to gather your tools. You will need:
- The new showerhead
- An adjustable wrench
- Slip joint pliers
- A pair of towels
- Teflon tape or plumbing tape
- Electrical tape
- Your new showerhead may come with the plumbing tape included in the box. If not, you can always buy it separately. You might be able to replace the showerhead without turning off the water. But it’s best not to take chances. If you have a local shut off, you just got lucky! If not, shut off the water mains. It might be located in the basement near the water heater or the front of the house.
Remove the Old Showerhead
 The first thing you have to do is remove the old showerhead. First, try turning the showerhead by hand. Turn the head counterclockwise for a few turns. If it comes apart in your hand, then move on to the next step. If not, here’s where the pools come into play.
Sometimes rust and mineral buildup can make it difficult to remove the old showerhead. If that’s the case, wrap a towel around the shower arm. The tower may be too big for the pliers. In that case, you can wrap electrical tape around the jaws of the pliers and grip the shower arm with it. Either of these techniques will protect the finish. Now use an adjustable wrench to unscrew the old showerhead.
Clean the Shower Arm
 If you see any rust or mineral deposits on the shower around threads, clean it with a bit of water. You might also have leftover tape, sealant or residue. Clean up everything before you proceed to protect the new showerhead.
Take a bit of the Teflon tape and wrap it clockwise around the threads. Make sure to go around two or three times but don’t make it too thick. Press the tape into the threads.
Attach the New Showerhead

Fixed Models
Screw in the new showerhead by turning in the clockwise direction. Make sure to tighten it. Turn on the shower and check for any leaks. If you find any, you might have to unscrew it and add more tape. You can also tighten it with an adjustable wrench to ensure a good fit.
Handheld models
Handheld models work similarly but there are some additional steps. First, screw the handheld shower mount onto the arm. Tighten it fully with your hands. Then connect the flexible hose to the mount. Finally, connect the handheld showerhead to the flexible hose. Check all the connections and tighten by hand.
Turn on the shower and check that there are no leaks anywhere. If you have any leaks, tighten with an adjustable wrench under the water stops dripping.
Combination models
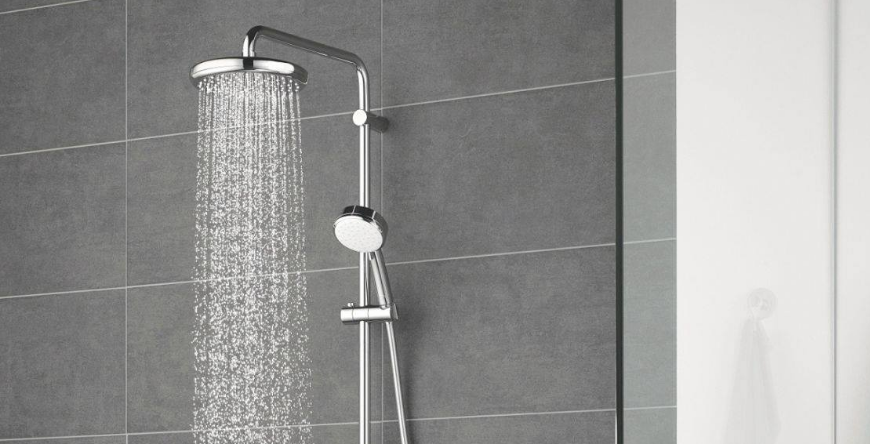
Combination models like the Grohe Euphoria offer the best of both worlds. You have a fixed shower head as well as a handheld one in the same system for maximum comfort. The first thing you need to do is attach the diverter to the shower arm. Tighten it with your hands as far as it will go. Then attach the handheld amount to the correct place on the shower. You can find the directions on the box or insight.
Now connect the flexible hose to the handheld shower and diverter. Check all the connections and place the handheld shower back in the mount. Turn on the shower and check for leaks. Make sure you diver water into the handheld unit and check that as well. If you have any leaks, add some more Teflon tape. Tighten it once again with an adjustable wrench until the dripping stops.


